
10 Tips for Organizing Small Hardware

Table of Contents
- The Importance of Hardware Organization
- Tip 1: Categorize by Material and Coating First
- Tip 2: Implement a Tiered Bin System
- Tip 3: Maximize Vertical Space with Wall-Mounted Cabinets
- Tip 4: The Power of Visual Labeling
- Tip 5: Use Portable Organizers for Project-Specific Hardware
- Common Mistakes to Avoid
- Frequently Asked Questions
The Importance of Hardware Organization
Few things can derail a woodworking project faster than a missing 1-1/4 inch pocket hole screw or a misplaced washer. When you are in the flow of building, the last thing you want to do is sift through a "coffee can of mystery" filled with rusted nails and mismatched fasteners. Organizing your small hardware isn't just about aesthetics; it is about protecting your investment and maximizing your shop efficiency. Every minute spent hunting for a screw is a minute taken away from actual craftsmanship.
Beyond time savings, proper organization prevents the "duplicate purchase" syndrome. Many woodworkers find themselves buying a fresh box of 2-inch wood screws simply because they couldn't find the half-full box buried under a pile of scrap wood. By centralizing your inventory, you gain a clear view of what you have and what you need to restock. This leads to a cleaner workspace and a more professional approach to your hobby or trade.
Finally, organizing screws and nails helps maintain the integrity of the hardware itself. When fasteners are thrown together, coatings can chip, leading to premature corrosion. Stainless steel should never be stored in direct contact with carbon steel in humid environments to prevent galvanic corrosion. A dedicated system ensures that each type of fastener remains in peak condition, ready for your next heirloom-quality build.
Tip 1: Categorize by Material and Coating First
The most common mistake when people try to organize screws and nails is sorting by size before sorting by material. While it might seem logical to put all 2-inch screws together, mixing interior zinc-plated screws with exterior-grade stainless steel or ceramic-coated deck screws is a recipe for disaster. If you accidentally use an interior screw for an outdoor gate, your project will fail within a year. Start your organization by creating broad zones: Interior (Zinc/Black Phosphate), Exterior (Stainless/Deck), and Specialty (Brass/Bronze).
Once you have your material zones established, you can begin sub-categorizing by head type and drive style. In a modern workshop, you likely have a mix of Phillips, Square (Robertson), and Torx (Star) drives. Keeping these separate is crucial because it dictates which driver bit you need to have on your workbench. Mixing drive types in the same bin leads to frustration when you grab a handful of screws only to realize half of them require a different bit than the one currently in your drill.
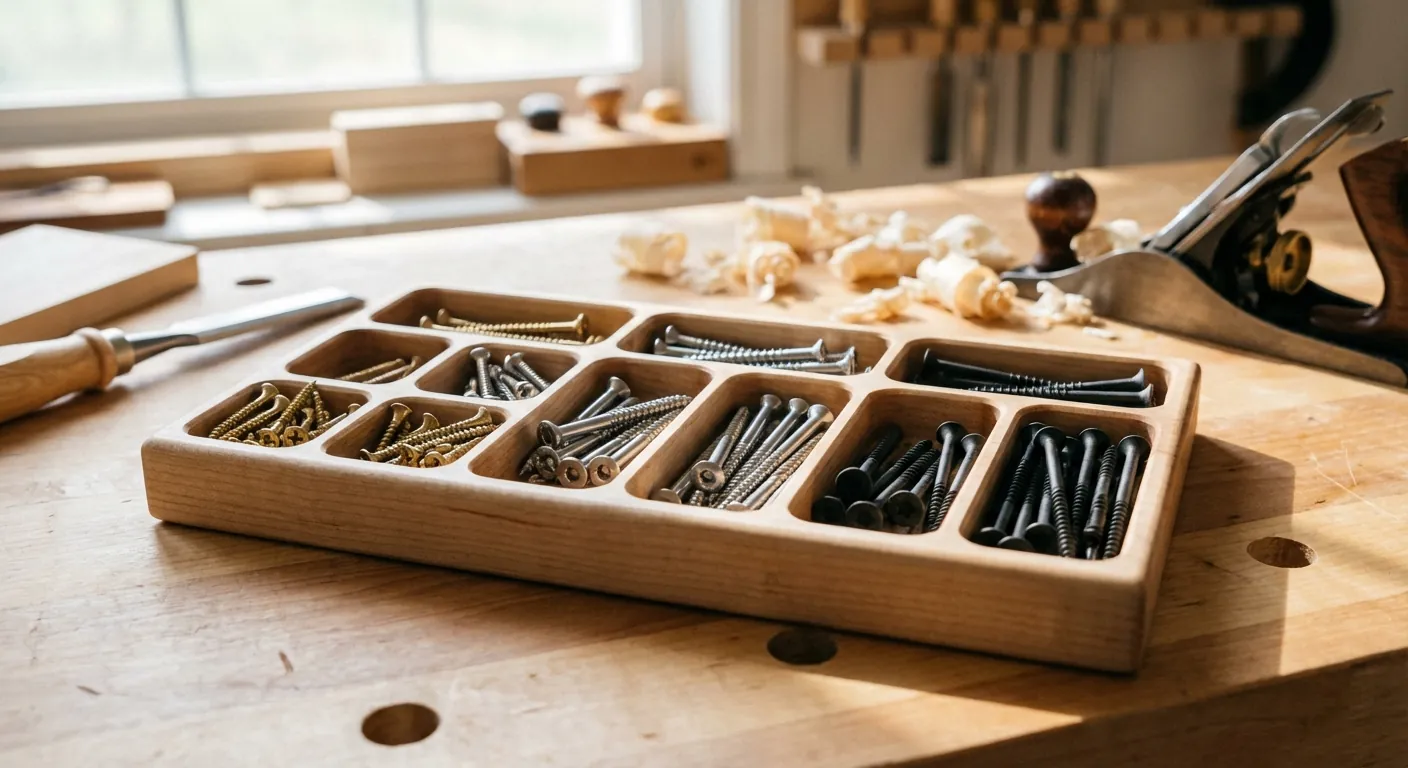
Within these sub-categories, you finally reach the stage of sorting by length and gauge. For most woodworkers, the "gauge" (the thickness of the screw) is just as important as the length. A #8 screw and a #10 screw may look similar to the naked eye, but they require different pilot holes and offer different shear strengths. By keeping these clearly delineated in their own compartments, you ensure that the structural integrity of your furniture remains consistent throughout the assembly process.
Tip 2: Implement a Tiered Bin System
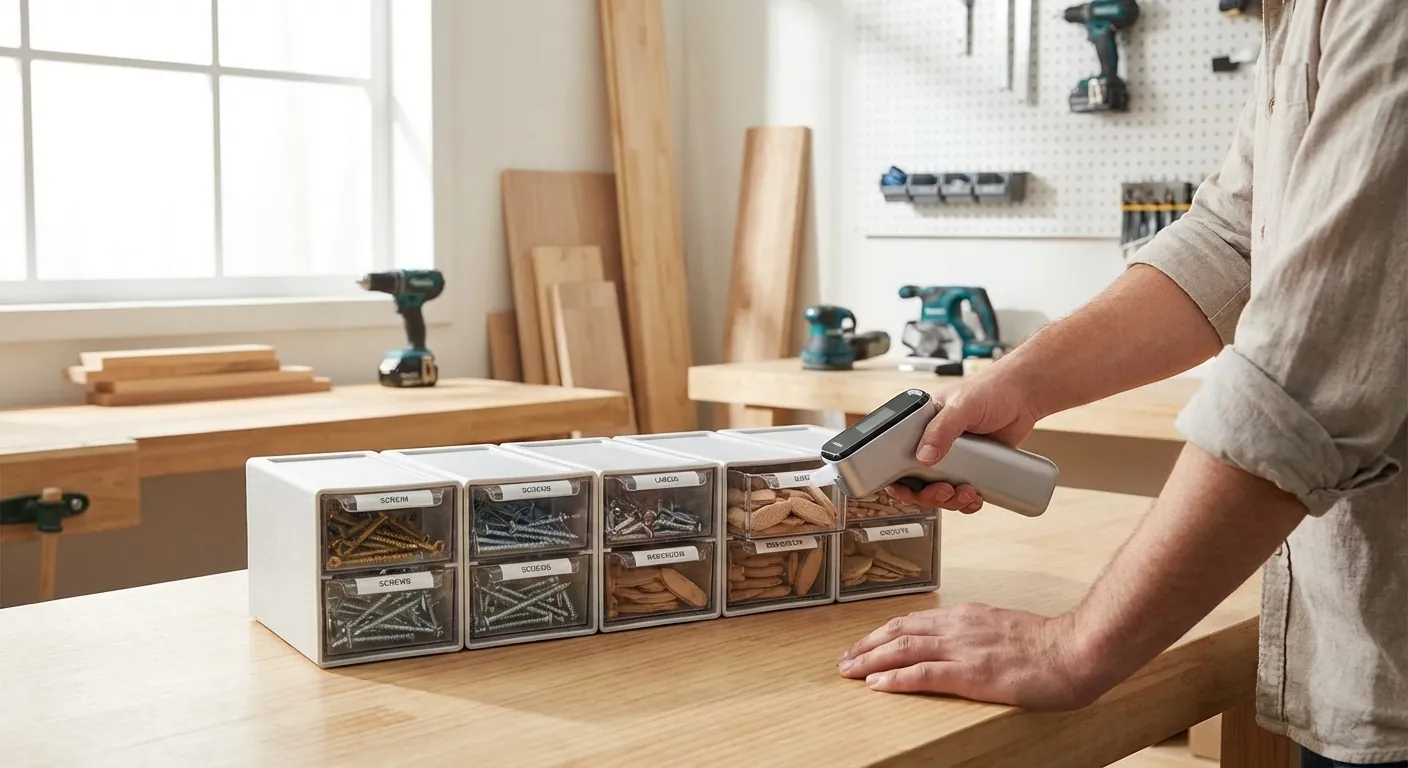
A tiered bin system is the gold standard for workshop organization because it provides high visibility and easy access. Small hardware is best stored in open-front bins or clear-drawer cabinets that allow you to see the contents without opening a lid. This "at-a-glance" inventory check is vital during the assembly phase of a project. When you can see that your supply of #6 x 5/8" brass screws is running low, you can add it to your shopping list before you actually run out in the middle of a build.
For the most frequently used items, like common wood screws and finish nails, use larger bins located at eye level. For specialty items that you use less often—such as mirror clips, shelf pins, or specialized furniture bolts—smaller drawers or bins are more space-efficient. The goal is to create a hierarchy of accessibility where your "daily drivers" are within arm's reach of your assembly table, while the "once-a-year" hardware is stored higher up or further away.
{{PRODUCT_CARD:B000LDH3JC}}
I highly recommend the Akro-Mils 10144 D 44 Drawer Plastic Parts Storage Hardware and Craft Cabinet for any small-to-medium workshop. This unit is the backbone of hardware organization because it offers a mix of small and large drawers, allowing you to store everything from tiny set screws to longer 4-inch lag bolts in one footprint. The clear plastic drawers are a game-changer, as they eliminate the guesswork of what is inside.
This cabinet is best for woodworkers who have a permanent shop space and need to consolidate a wide variety of small parts. The drawers are ribbed on the bottom to prevent small parts from sliding around, and they feature "finger grip" pulls that make them easy to open even if your hands are a bit dusty. One standout feature is the ability to wall-mount these units, which is essential for keeping your horizontal work surfaces clear.
The only drawback is that the plastic dividers for the drawers are often sold separately, which can be a minor annoyance if you want to further subdivide the small drawers. However, compared to cheaper alternatives, the frame is much more rigid and won't sag over time when filled with heavy steel fasteners. It is a professional-grade solution that outlasts the flimsy options found at big-box stores.
{{/PRODUCT_CARD}}
Tip 3: Maximize Vertical Space with Wall-Mounted Cabinets
In a small workshop, floor and bench space are your most precious commodities. If your hardware organization is sitting on your workbench, it’s in your way. Moving your screws and nails to the wall not only clears up room for your projects but also puts the hardware at a more ergonomic height. Wall-mounted systems, whether they are French cleats, pegboards, or dedicated cabinets, allow you to utilize the "dead space" above your machines or workbenches.
The Benefits of French Cleat Hardware Racks
A French cleat system is particularly effective for hardware storage because it is modular. As your collection of fasteners grows, you can simply build or buy more bin holders and hook them onto the wall. This flexibility is key; your needs as a woodworker will change over time. Five years from now, you might find yourself doing more cabinetry, requiring more space for hinges and drawer slides, and a French cleat system can be rearranged in seconds to accommodate that shift.
Pegboard vs. Slatwall for Bins
While pegboards are a classic choice, they can sometimes be flimsy when supporting the weight of several pounds of steel screws. If you choose pegboard, ensure you use high-quality metal bins or heavy-duty plastic bins with secure locking tabs. Slatwall is a more robust alternative that offers better weight distribution. Regardless of the system, the goal is to create a "wall of fasteners" that is logically mapped out, with the most common items located in the "strike zone" between your waist and shoulders.
Tip 4: The Power of Visual Labeling
Even with clear drawers, labeling is the secret sauce that makes an organization system truly functional. A label should tell you three things: the type of fastener, the dimensions, and the drive type. For example, "Wood Screw - #8 x 2" - Torx" is much more helpful than just "2-inch screws." Using a dedicated label maker ensures that your text is legible and that the adhesive is strong enough to withstand the fluctuating temperatures and sawdust of a workshop environment.
One expert tip for labeling is to include a "physical sample" on the outside of the bin. For larger bins, you can use a small dab of hot glue or a piece of double-sided tape to attach one of the actual screws or nails to the front of the drawer. This provides an immediate visual reference of the head type and length without you having to read a single word. It is especially helpful when you are working quickly and need to grab the right fastener by shape rather than by technical specification.
Furthermore, consider color-coding your labels based on material. You could use yellow labels for zinc-plated, blue for stainless steel, and green for exterior-coated screws. This adds another layer of "mental indexing" that helps your brain find the right category faster. When you combine clear drawers, descriptive text, and physical samples, you create a triple-redundant system that virtually eliminates the chance of grabbing the wrong hardware.
Tip 5: Use Portable Organizers for Project-Specific Hardware
While wall-mounted cabinets are great for the "home base" of your shop, there are times when you need to bring your hardware to the project. This is especially true for large builds, outdoor installations, or home repairs. Portable organizers with removable bins are the perfect solution for this. You can pluck the specific bins you need from your main storage or keep a dedicated "go-kit" of common sizes that travels with you to the job site or into the house.
Portable organizers also help prevent clutter on your workbench. Instead of having five different boxes of screws open on your work surface, you have one compact case. These cases usually feature a locking lid that keeps the bins tightly sealed, preventing the dreaded "spill" if the case is tipped over. For anyone who does "on-site" work or has a workshop that shares space with a garage, these are indispensable.
{{PRODUCT_CARD:B00AUVX394}}
The DEWALT TSTAK Organizer with Clear Lid is my top pick for portable hardware storage. I recommend this specifically for woodworkers who find themselves moving between a shop and a job site, or even just moving from one side of a large shop to the other. The heavy-duty clear lid is made of polycarbonate, which is virtually indestructible and allows you to see exactly what you have before you even open the latches.
This product is best for those who value durability and modularity. The TSTAK system allows this organizer to clip onto other TSTAK toolboxes, creating a custom stack of tools and hardware that can be rolled around easily. The standout feature is the removable cups; you can take just the cup of screws you need to your ladder or work surface, rather than the whole box.
One consideration is that the cups are fixed in size, so you can't customize the internal layout as much as a system with movable dividers. However, the seal between the lid and the cups is so tight that even the smallest washers or #4 screws will not migrate to other compartments when the box is shaken. It is a rugged, professional-grade solution that handles the abuse of a busy workshop with ease.
{{/PRODUCT_CARD}}
Common Mistakes to Avoid
The most frequent mistake in hardware organization is "over-sorting" to the point of friction. If your system is so complex that it takes more time to put a screw away than it does to use it, you will eventually stop using the system. Avoid creating a separate bin for every single variation if you only have three or four of that item. Instead, use "miscellaneous" bins for those oddball fasteners, but keep them grouped by general type (e.g., "Misc. Metric Bolts").
Another pitfall is failing to account for growth. Many woodworkers buy a storage unit that fits their current inventory perfectly, leaving no room for the hardware they will inevitably acquire for future projects. Always buy a system that has 20-30% more capacity than you currently need. This allows you to expand your collection without having to redesign your entire shop layout or buy a mismatched second cabinet that breaks the visual flow of your workspace.
Finally, don't ignore the environment. Storing nails and screws in a damp basement or an unconditioned shed without proper protection will lead to rust. If your shop is prone to humidity, consider adding a small silica gel packet to each drawer or choosing storage bins with rubber gaskets. Protecting your hardware from the elements is just as important as keeping it organized; a perfectly sorted bin of rusted screws is still a bin of useless hardware.
Frequently Asked Questions
What is the best way to organize different lengths of the same screw?
The most efficient way is to store them in a linear fashion, from shortest to longest, moving from left to right or top to bottom in your cabinet. This creates a logical flow that matches how we read. If you have a wide variety of lengths (e.g., 1/2" up to 3"), use a cabinet with many small drawers. If you only use a few standard lengths, you can use a larger bin with dividers. Always ensure the labels are clearly visible on the front of the bin so you don't have to pull the drawer out to check the length.
Consistency is the key to this method. If you always know that the 1-inch screws are to the left of the 1-1/4 inch screws, your muscle memory will eventually take over. This "spatial organization" reduces the cognitive load of searching for hardware, allowing you to stay focused on the precision of your woodworking.
Should I keep hardware in its original packaging?
Generally, no. Original cardboard packaging is bulky, difficult to stack, and often fails over time as the tabs tear or the bottom falls out. Cardboard also absorbs moisture, which can lead to the corrosion of your fasteners. Transferring hardware to uniform plastic bins or drawers creates a much more space-efficient and durable system. It also allows for better visibility, as most retail packaging is opaque.
However, there is one exception: if the original box contains important technical data, such as specific drill bit requirements or load-bearing capacities for structural screws, cut that information out and tape it to the back or bottom of your new storage bin. This ensures you keep the vital stats without the clunky, unreliable packaging.
How do I handle "leftover" hardware from IKEA or furniture kits?
We all have that small pile of "extra" cams, dowels, and specialized bolts from flat-pack furniture. The best way to handle these is to have one dedicated "Furniture Spares" bin. Do not mix these with your standard woodworking hardware, as they are often metric and specialized for specific connector systems. If you haven't used those spares in two years, it’s usually safe to recycle them or toss them.
If you decide to keep them, group them by type—put all the cam locks in one small bag and all the shelf pins in another—before placing them in the bin. This prevents the "nested mess" where small parts get stuck inside larger ones. Label the bag with the brand or project name if you think you might actually need them for a specific piece of furniture in the future.
How can I organize nails without them poking my fingers?
For loose nails, the best storage solution is a drawer or bin where the nails can lie flat rather than standing vertically. If you use a lot of different sizes, consider using magnetic strips inside your bins to keep the nails from shifting around excessively. For collated nails (those used in nail guns), keep them in their original strips and store them in long, shallow drawers that match the length of the strips to prevent them from breaking.
If you are worried about finger pricks, use a "scoop" method. Keep a small magnetic wand or a plastic spoon near your nail storage. This allows you to grab a handful of nails without digging your fingertips into the sharp points. Additionally, keeping the bins at or below waist level makes it easier to see into the bin before you reach in, significantly reducing the chance of an accidental poke.
Is it worth organizing washers and nuts separately from bolts?
Yes, absolutely. While it might seem convenient to keep a nut on every bolt, it actually slows you down when you need to grab ten bolts quickly. Store your bolts, nuts, and washers in three adjacent sections. For example, if you have 1/4-20 bolts in one drawer, the 1/4-20 nuts should be in the drawer directly below or beside it, followed by the 1/4" flat washers and lock washers.
This "component-based" sorting is much more flexible. Often, you may need a washer for a wood project without needing the corresponding bolt. If they are stored together, you have to disassemble the pair every time. By keeping them separate but nearby, you can quickly "shop" your own inventory for the specific combination of components required for your current task.
Our Top Picks for 2026
We've spent hours researching and testing to find the absolute best options currently available.

Ultrawall Wall Mounted Storage Bins, Plastic Hanging Storage Organizer Bins, Garage Tool Storage System for Screws, Nuts, Bolts, Nails, and Small Hardware Parts, 16x bins & 4 x rails, Blue
- Package include: 4 pcs steel rails with 16 pcs sturdy bins, 4 bins per section. Maximum weight of 22 lbs per bin
- Efficient organization: With customizable and durable bins, streamline your workspace effortlessly for an efficient storage solution
- Top-quality construction: Built to last, this product is the ultimate solution for efficient tool storage and ensures long-lasting durability

Akro-Mils 44-Drawer Plastic Drawer Storage Cabinet for Garage Organization, Bead Organizer, Building Bricks Storage, Teacher Toolbox, Makeup Organizer, 20" W x 6" D x 16" H, 10144 Black Black 44 Drawer 1 pack
- HEAVY DUTY CABINET WITH 26 DRAWERS: The small storage cabinet is made in the U.S.A. from rugged, high-impact plastic and measures 20" W x 6" D x 10" H; Organizer drawer external dimensions - 6" x 4-9/16" x 2-3/16" (large); 6" x 2-7/32" x 1-9/16" (small)
- GARAGE ORGANIZATION: The small parts organizer is great for garages and workshops for both homeowners and businesses; The plastic storage drawers can be used as tool box, screw organizer or for battery storage; Keep nails and other small parts accessible
- CLASSROOM ESSENTIALS: Teachers can use the stackable storage drawers for classroom organization; Use it as a teacher toolbox, art supply storage organizer, craft storage cabinet for scrapbook supplies, and more; Drawers are safe for polymer clay

IRIS USA Screw Tool Organizer Small Parts Cabinet, 44-Drawer, Electronics Hardware Nuts and Bolts Plastic Storage Drawers Garage Storage, Stackable Bead Craft Organizer Building Bricks Sorter, Black Black 44 Drawer
- MULTI-PURPOSE ORGANIZER: Perfect storage solution tool to organize screws, hardware, small parts, nuts and bolts, stationery, office and classroom supplies, crafts, beads or sewing supplies, and fishing gear.
- STACK OR WALL MOUNT: The cabinet’s grooves on the lid securely lock in one on top of another when stacked. It can be wall-mounted and used to organize screws, hardware, tools, and small parts.
- MULTI-DRAWERS: Sort, store and organize screws, hardware, small parts, nails, and tools with these multi-drawers to identify and grab things easily and quickly.