
Planning Your Workshop Electrical Layout

Table of Contents
- Introduction
- Assessing Your Workshop Power Requirements
- Designing a Dedicated Circuit Strategy
- Strategic Outlet Placement for Maximum Workflow
- Overhead Power and Retractable Solutions
- Lighting Layout and Visual Clarity
- Electrical Safety and Code Compliance
- Common Workshop Electrical Mistakes to Avoid
- Frequently Asked Questions
Introduction
Walking into a workshop only to find that your table saw keeps tripping the breaker is one of the most frustrating experiences for a woodworker. Often, we inherit a garage or basement space that was wired for a single lightbulb and a washing machine, not a 3-horsepower cabinet saw and a 1,200-CFM dust collector running simultaneously. A proper workshop electrical plan is the invisible backbone of your creative space; it ensures that your tools run at peak performance, your environment is safely lit, and your workflow remains uninterrupted by the limitations of your infrastructure.
Planning your electrical layout isn't just about sticking a few extra outlets in the wall. It involves a deep dive into how you move through your shop, which tools are "power hogs," and how you can future-proof the space for upgrades. Whether you are moving into a brand-new build or retrofitting an existing garage, taking the time to map out your circuits and outlet heights will save you from a "spaghetti" of extension cords that create significant tripping hazards and fire risks.
In this guide, we will walk through the technical and practical aspects of designing a workshop electrical plan. You’ll learn how to calculate your total amperage needs, where to position 220V outlets for heavy machinery, and how to integrate smart storage solutions with your power needs. By the end of this article, you will have a clear blueprint for a shop that is not only powerful enough for your current projects but ready for whatever industrial-grade tool you decide to bring home next.
Assessing Your Workshop Power Requirements
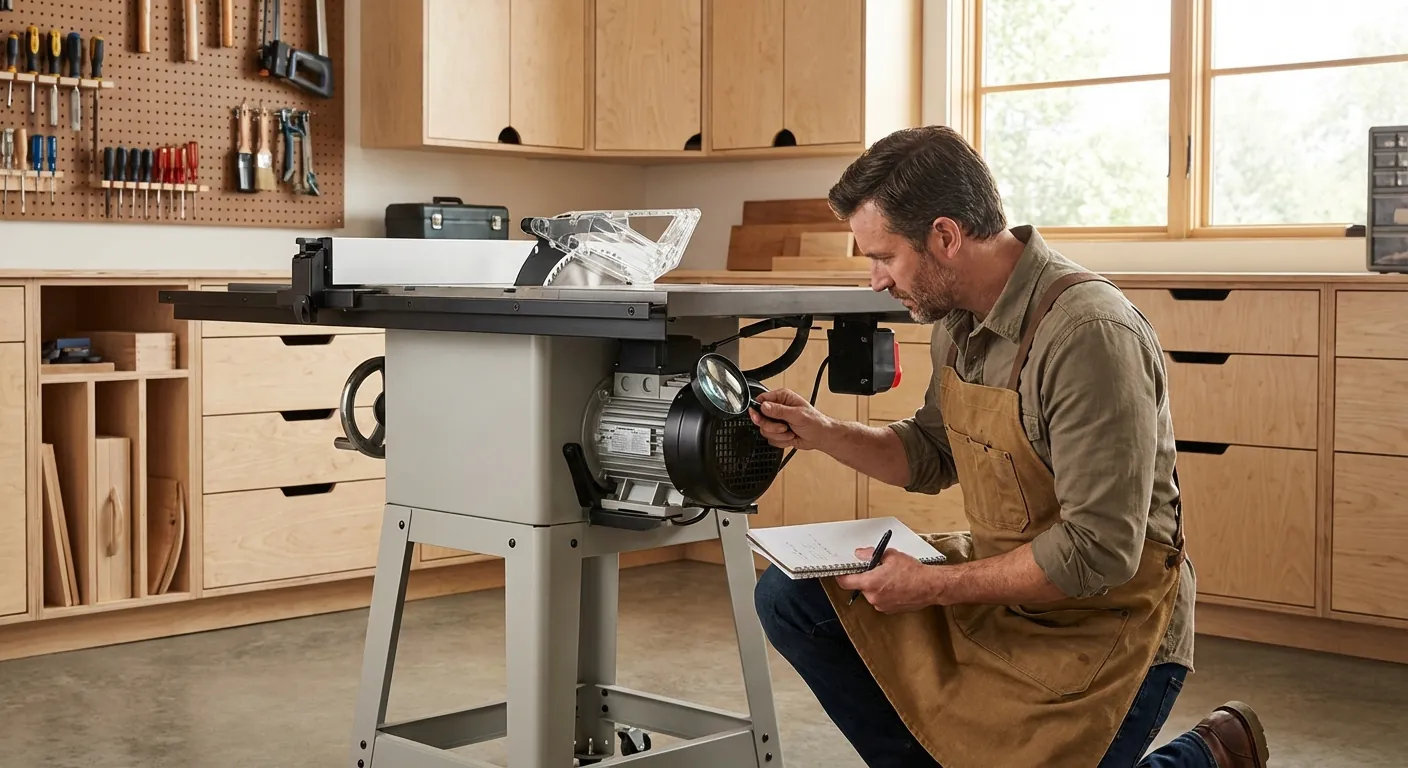
The first step in any workshop electrical plan is a "power audit." You need to look at every tool you currently own and every tool you plan to own in the next five years. Most standard household circuits are 15 amps, which is barely enough to run a modern miter saw and a shop vac at the same time. When a motor starts up, it draws a "surge" of current that can be significantly higher than its running amperage. If your circuit is already near its limit, that surge will pop the breaker every single time.
To calculate your needs, list your largest tools: the table saw, the jointer, the planer, and the dust collector. Look at the data plate on the motor to find the "Full Load Amps" (FLA). For a 110V circuit, a standard 1.5 HP table saw might draw 13-14 amps. If you also have a 10-amp dust collector on that same circuit, you are guaranteed to trip the breaker. This is why professional-grade workshop plans prioritize separating high-draw tools onto their own dedicated circuits to ensure they never have to compete for "juice."
Beyond the heavy machinery, don't forget the "silent" power draws. Battery chargers, shop lights, air compressors, and even a small shop radio all add to the total load. While these don't draw much individually, they create a "baseline" load on your circuits. A well-planned shop will have separate circuits for lighting and general-purpose outlets so that if a tool trips a breaker, you aren't suddenly left standing in total darkness with a spinning blade.
Designing a Dedicated Circuit Strategy
A robust workshop electrical plan relies on the concept of dedicated circuits. For a medium-sized woodworking shop, the "gold standard" is to have at least two 20-amp, 110V circuits for hand tools and small machinery, one dedicated 20-amp circuit for the dust collector, and at least one 220V circuit for a large table saw or planer. Using 20-amp circuits instead of the standard 15-amp allows you to use 12-gauge wire, which is thicker and can handle more heat and current without a significant voltage drop over long distances.
The Importance of 220V Circuits
Many woodworkers wonder if they really need 220V power. While most hobbyist tools run on 110V, stepping up to 220V offers significant advantages for machines with 2HP motors or larger. A motor running on 220V draws half the amperage of the same motor running on 110V, which allows it to run cooler and start up faster. If you plan on eventually upgrading to a 3HP cabinet saw or a heavy-duty band saw, having 220V outlets pre-installed in your layout will save you an expensive electrical visit later.
Separating Dust Collection
One of the most common mistakes in shop planning is putting the dust collector on the same circuit as the tool it's serving. Dust collectors are notorious for high startup surges. When you turn on your table saw and then your dust collector, the combined surge is almost certain to exceed 20 amps. By placing your dust collector on its own dedicated circuit—ideally with a remote-controlled switch—you ensure that your primary tools have all the power they need to cut through thick hardwoods without bogging down.
Strategic Outlet Placement for Maximum Workflow
Outlet placement is where your electrical plan meets your workshop organization. In a standard home, outlets are placed about 12 to 18 inches off the floor. In a workshop, this is a recipe for back pain and tangled cords. For most woodworkers, the ideal height for outlets is 48 to 52 inches from the floor. This places them just above the height of a standard workbench or assembly table, making them easy to reach without bending over and preventing them from being blocked by sheet goods leaning against the wall.
Spacing is equally important. A good rule of thumb is the "4-foot rule": place a double-gang outlet every four feet along your primary work walls. This ensures that no matter where you are standing, you are never more than two feet away from power. This eliminates the need for extension cords stretched across the floor, which are a major safety hazard in a shop filled with sharp tools and sawdust.
Powering the Center of the Room
If you have a large assembly table or an outfeed table in the center of your shop, you need power there too. Running cords across the floor is unacceptable for a permanent setup. Instead, consider installing a floor-mounted outlet (with a protective cover) or dropping power from the ceiling. A ceiling-mounted drop allows you to plug in sanders, routers, and biscuit joiners right at the assembly table without the cord dragging across your workpiece or getting caught on the edge of the table.

{{PRODUCT_CARD:B000000000}}
I highly recommend a heavy-duty retractable cord reel for any shop that utilizes a central assembly table or outfeed station. This specific model is best for woodworkers who need 12-gauge power (20-amp capable) delivered from the ceiling to avoid floor clutter. It features a 50-foot cord, which is more than enough for a standard two-car garage setup.
The standout feature of this unit is the adjustable cord stopper and the triple-tap connector, allowing you to power multiple small hand tools (like a sander and a domino joiner) simultaneously. The heavy-duty steel housing is built to withstand the dusty environment of a woodshop, unlike cheaper plastic alternatives. The only drawback is the weight; you must ensure it is mounted directly into a ceiling joist using heavy lag bolts. Compared to standard extension cords, this reel significantly improves shop safety by keeping tripping hazards off the floor and automatically retracting when the job is done.
{{/PRODUCT_CARD}}
Lighting Layout and Visual Clarity
You cannot do precision woodworking if you cannot see your layout lines. A workshop electrical plan must prioritize high-quality, shadow-free lighting. Traditional fluorescent shop lights are being rapidly replaced by LED integrated fixtures, which offer better light quality, lower power consumption, and instant-on capabilities even in cold garages. When planning your lighting, aim for at least 100 lumens per square foot of shop space for general lighting, and even more for specific task areas.
Ambient vs. Task Lighting
Ambient lighting should be spread evenly across the ceiling to eliminate dark corners. However, task lighting is where the real precision happens. You should plan for dedicated circuits or outlets above your workbench, drill press, and band saw for high-intensity lamps. These lights should be positioned to shine onto the workpiece from the side or front to prevent your own body from casting a shadow over the cut line.
Color Temperature Matters
For woodworking, the color temperature of your lights is crucial. Lights in the 5000K (Daylight) range are generally preferred because they provide a crisp, white light that makes it easier to see fine details in wood grain and identify imperfections in a finish. Avoid "Warm White" (2700K-3000K) bulbs, as they can cast a yellow hue that hides glue spots and makes it difficult to judge stain colors accurately.
Electrical Safety and Code Compliance
Safety is the most critical aspect of any electrical plan. In a workshop environment—especially one in a garage or basement—GFCI (Ground Fault Circuit Interrupter) protection is usually a legal requirement by code. GFCIs protect you from electrocution by shutting off power instantly if they detect a leak to ground. Since workshops often involve moisture (concrete floors) and metal-cased tools, this protection is non-negotiable.
Wire Gauge and Circuit Breakers
Always match your wire gauge to your circuit breaker. For a 20-amp circuit, you must use 12-gauge wire. Using 14-gauge wire on a 20-amp breaker is a fire hazard because the wire can overheat and melt before the breaker ever trips. If you are running a sub-panel to your workshop, ensure the main feeder wire is sized correctly for the total load of the shop. It is always better to over-spec your wire size than to under-spec it.
Proper Grounding
Every circuit in your workshop must be properly grounded. Woodworking tools, especially older ones with metal housings, rely on the ground wire to divert electricity away from the user in the event of an internal short. Additionally, if you are running a plastic PVC dust collection system, you must consider the build-up of static electricity. While the electrical code doesn't always cover dust collection grounding, many woodworkers run a copper wire through their ducts to prevent static shocks and potential dust explosions.
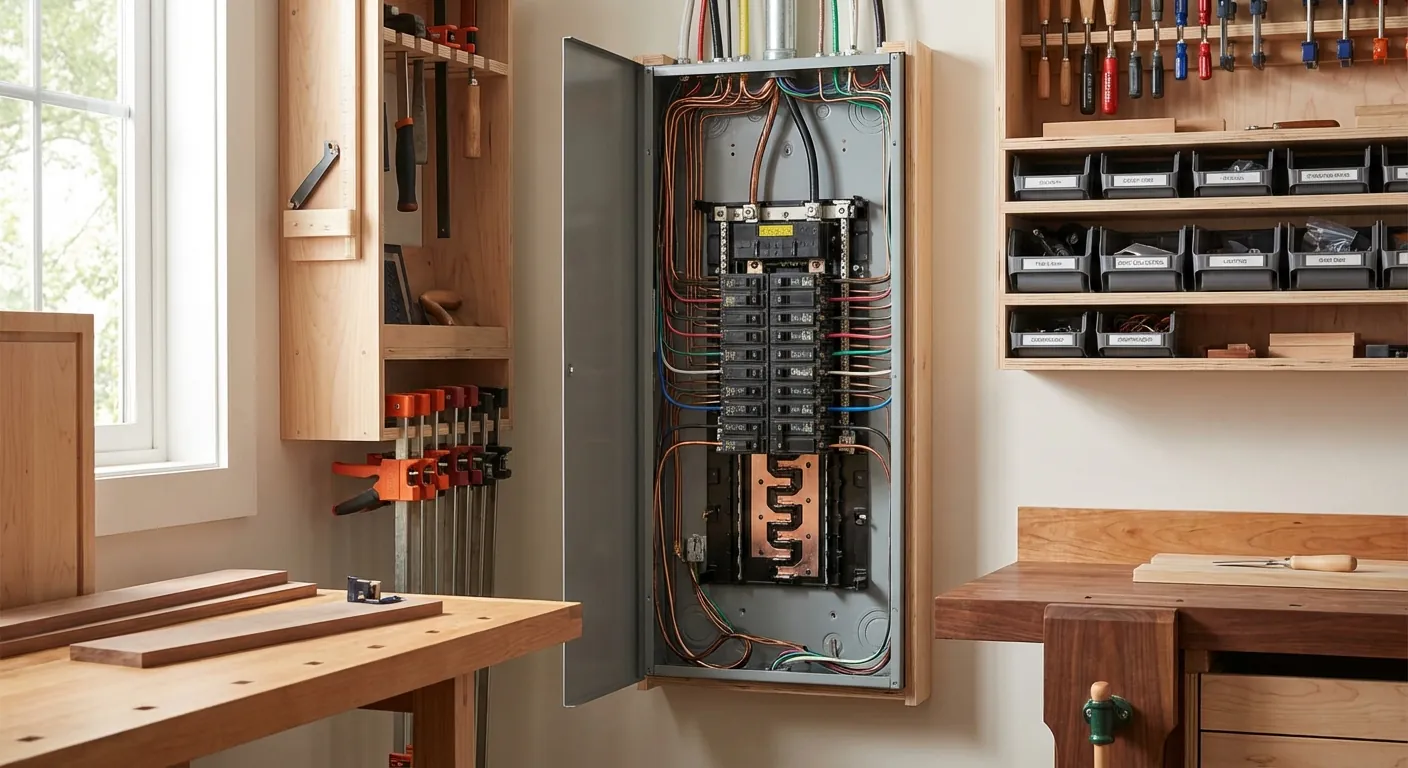
Common Workshop Electrical Mistakes to Avoid
One of the most frequent errors is failing to label the breaker panel clearly. In the heat of a project, if a breaker trips, you don't want to spend ten minutes guessing which switch controls the south wall. Use a permanent label maker to identify every circuit by its function (e.g., "Table Saw/Jointer," "Dust Collector," "North Wall Outlets"). This saves time and frustration during troubleshooting.
Another mistake is underestimating the number of outlets needed for battery charging stations. With the rise of cordless tools, many woodworkers find their general-purpose outlets cluttered with chargers for drills, impact drivers, and sanders. Plan a dedicated "charging center" with a power strip or a series of outlets specifically for this purpose. This keeps your main work outlets free for corded tools and prevents "vampire" power draws from overwhelming a single circuit.
Finally, don't forget to plan for future expansion. If you think you might want a mini-split AC unit or an electric heater in the future, pull the wire for those circuits now while the walls are open. It is significantly cheaper and easier to install an extra circuit during the initial planning phase than it is to tear into finished walls two years later when you realize you're tired of working in a freezing shop.
Frequently Asked Questions
Can I run my whole workshop off a single 15-amp circuit? Technically, you can run one tool at a time, but it is highly discouraged. A single 15-amp circuit will likely trip if you try to run a table saw and a vacuum together. Furthermore, if your lights are on the same circuit, you will be plunged into darkness the moment the breaker trips, which is extremely dangerous when using power tools. At a minimum, you should have one circuit for lights and two 20-amp circuits for tools.
What is the best height for workshop outlets? The ideal height is generally 48 to 52 inches from the floor. This allows the outlets to clear the top of a standard 30-36 inch workbench while still being accessible if you have plywood sheets leaning against the wall. It also keeps the cords from dangling onto the floor where they can become a tripping hazard or get covered in sawdust.
Do I need a sub-panel for my garage workshop? If your main house panel is far away or doesn't have enough open slots, a sub-panel is a great idea. It allows you to run a single large "feeder" line to the workshop and then distribute power to your various circuits locally. This makes it much easier to add or change circuits in the future without having to crawl through an attic or basement to reach the main panel.
Is it safe to use PVC conduit for workshop wiring? Yes, Schedule 40 PVC conduit is commonly used in workshops because it is easy to install and protects the wires from physical damage. However, many pros prefer EMT (Electrical Metallic Tubing) because it provides better protection against accidental impacts from lumber and provides an additional grounding path. Always check your local building codes to see which is required in your area.
How many lumens do I need for a 20x20 garage shop? For a 400-square-foot shop, you should aim for approximately 40,000 to 50,000 total lumens for general illumination. This can be achieved with six to eight 4-foot LED shop lights. Remember to supplement this with task lighting at your most-used stations like the workbench and the drill press to ensure you have clear visibility for detailed work.
Our Top Picks for 2026
We've spent hours researching and testing to find the absolute best options currently available.

Build Your Own Garage Manual: More Than 175 Plans: Step-By-Step Instructions (Creative Homeowner) Techniques, Tips, Diagrams, and More for DIY Building, plus a Catalog of Available Plans
- Top-tier performance in real-world testing
- Premium materials and exceptional build quality

Electroplating for Amateurs: Classic Reference for Small Workshops (Fox Chapel Publishing) Metal-Plating Techniques for Decoration, Corrosion Protection, Electrical Conductivity, and Wear Resistance
- Top-tier performance in real-world testing
- Premium materials and exceptional build quality

Electrical Plan Reading Workbook #276
- Top-tier performance in real-world testing
- Premium materials and exceptional build quality